Friday 25 October 2013

My Journey with the Elizabethans - Modern Hairstyles made Elizabethan

In order to create the best possible hair design for my assessment that I can, I began to make collages of some possible hair designs that I could create.  Using some modern hairstyle images that I found on the internet and that I liked, I cut, drew and stuck things on them to give the hairstyles a more Elizabethan twist.

This first image was the one that I decided best fitted my interpretation of a 'smart' hairstyle.  I chose to use this photo as it is a classic contemporary hairstyle.  During the Elizabethan era, when women wore their hair up it would all be up and out of the way, whereas today a lot of women wear their hair in a ponytail.  A ponytail is still an up do, with the hair pulled back off of the face, however it is a more modernised up do.
This first design idea shows a row of pin curls at the front of the head, with rows of plaits going back on the head and into a ponytail.  I have also added a hair piece to go around the ponytail, as during the Elizabethan era they used a lot of props in their hair.  The hair piece, I imagine, would have ribbon wrapped around it.  The Elizabethan aspects of this design is the row of pin curls at the front of the head. The hair being braided back on the head is also an Elizabethan twist to the hairstyle, as plaits and twists were popular during the Elizabethan era.  The contemporary twist to this design is the fact that the hair has been brought back into a ponytail, rather than a bun.  Ponytails are more contemporary, as during the Elizabethan era women would have been expected to sweep all of their hair up.


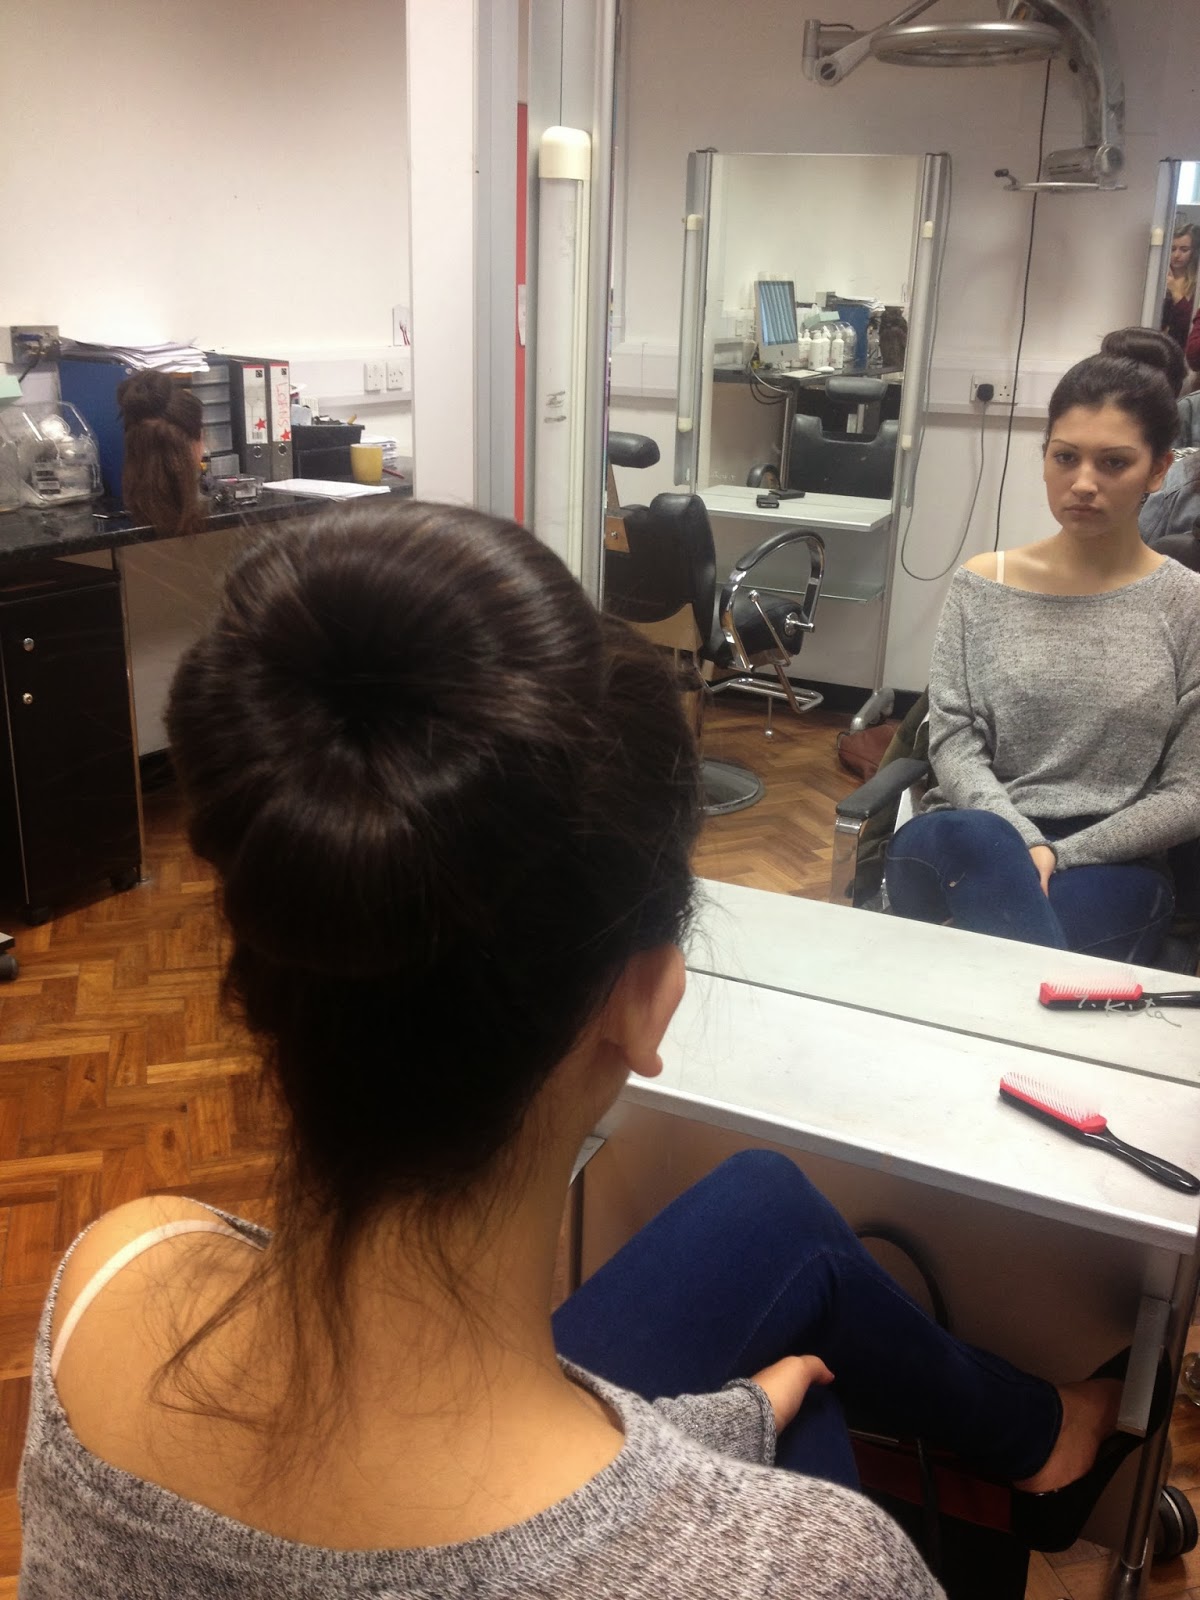
This second image is one that I found on the internet when looking at contemporary buns for some inspiration.  I liked the original image of the bun because I like the texture that is shown on the top of it, with the different strands of hair being crossed over one another.  I chose this image to annotate and create on because the hairstyle is designed so that all of the hair is up, off of the face and pulled back into a bun.
This design shows a row of barrel curls pinned on top, at the front of the head, with two spiral curls hanging loose at either side of the face to frame it.  The rest of the hair is then brought back into a bun, finishing off with a piece of ribbon tied around it for extra security.  This hair design is very Elizabethan in the sense that all of the hair is up on the head.  The bun is an Elizabethan idea, although I have chosen a more contemporary style of bun for this design.  The barrel and spiral curls are the main intended Elizabethan aspects of the design.  I have chosen to use the barrel curls in this design, as I believe that they will give the hair more texture at the front of the head, whereas pin curls tend to sit flatter on top on the head.  I like the way that the spiral curls frame the face, as this gives the design a more finished look and incorporates the face with the design a bit more, rather than just finishing above the ears.

    I found this third image, again, whilst researching some images of contemporary buns and up-dos for inspiration for my final design.  When I came across this image with the bow made out of hair, I knew that I wanted to experiment with the shape and style of this, because it is a very contemporary and very different kind of up-do.  In the original image, I liked the way that the hair was all slicked back on the head before going into the bow, as this creates different textures and volumes within the hairstyle.
    The way that I have adapted this third design idea, is by adding a row of pin curls at the front of the head.  The rest of the hair will then be scraped back to make a bow shape, out of the hair.  The design will be finished off by wrapping a piece of ribbon around the head twice, just to give it a little extra detail.  The main Elizabethan aspect of this design is the pin curls at the front of the head.  However the fact that all of the hair is up and off of the face is very Elizabethan too, as they were never seen to wear their hair down.  The contemporary twist it that the up-do is a hair bow, rather than a bun or some sort of design that uses a hair rat.

Thursday 24 October 2013

My Journey with the Elizabethans - Ribbon Work

During the Elizabethan times, they used lots of different materials to entwine into the hair to keep it in place.  These materials could include things such as wire, ribbon or even lace.  This week in our hair seminar we tried out some plaiting techniques, using ribbon to tie and hold the hair in place.


I began by tying a piece of ribbon, twice as long as the natural hair length, to a strand of hair at the front of the head where I wanted my french plait to start.  Once I had secured the ribbon in place (in a strand just under the top layer, so that the knot couldn't be seen), I began to french plait the hair with the ribbon in, keeping it visible throughout the plait.  When it came to the end of the plait, I used a small elastic hair tie to hold the plait in place.  I then created a second french plait on the other side of the head with another piece of ribbon.
I then held the first french plait round and up on top of the head, whilst I used the spare ribbon on the end of the plait to weave back through the plait.  I repeated this method for the other plait as well, and then when both pieces of ribbon had been weaved back through the plaits, I tied a bow at the nape of the neck to secure the hair.

This technique was really interesting and quite easy to grasp.  I found it so interesting, because it amazed me that the hair do was kept so secure through just using two piece of ribbon to tie it all up on the head.  Also, I like to way that the look turned out aesthetically, as I feel it looks a bit like a hairstyle that may have been adopted by the less wealthier people of the Elizabethan time period.  For example, peasants or workers.
I quite like this look, and I think that I will experiment more with ribbon before I decide on my final 3 designs for the project assessment.

Friday 18 October 2013

The Hair Studio - PLAITS & BUNS


Equipment used:
Hair brush
Sectioning comb
Hair tie
Hair grips
Bobby pins


How to create a BUN
Comb the hair back into a ponytail making sure that it is smooth with no bumps
     NOTE: if the hair is long tie the top half first and then the bottom half, joining the two when the
hair is smooth all round
Split the ponytail into 4 sections
Roll the first section around your index and middle finger (held slightly apart) and place it down using hair grips, one in each side, to hold it in place
Repeat the above step for all 4 sections
Take your bobby pins and use them to move the hair and join the gaps between the sections
Place the pins securely to hold the bun in place


How to create a FRENCH PLAIT
Take a small, neat section where you want to start your plait
Remember to always think of the direction of which you are plaiting and stand accordingly
Split the top section into 3 and start plaiting, taking and adding a section over the top each time
Once you have added all of the hair, finish the plait off in a normal plait
When you get to the ends, put some serum or wax into the hair to stop the layers from escaping and splaying
If you are doing a full head French plait, alternate where you are taking the added sections of hair from; section from the middle of the head closer to the plait, then a section from the outer strands of hair, and so on
     REMEMBER: keep it tight and into the scalp

How to create a FISHTAIL PLAIT
Split the hair into 2 sections
Take small sections from behind at the side of the main sections and cross them over to join with the other main section
Repeat this movement until you have a full fish tail plait
     REMEMBER: keep tension in the plait so that it stays in place, but don’t make it too tight


Tuesday 15 October 2013

Elizabethan Hair Quote - My Interpretation


The collage above is a piece of work that I created as an interpretation of an Elizabethan quote on hair.  We had many materials that we could use, such as ribbon, string, hair pieces, sponge and netting, and then we had to create our interpretations on a piece of A3 paper.  We were paired up, and I had to give my partner instructions on how I imagined the hairstyle to look when I read the quote.  We then went away separately and created our designs.
The key words and phrases from the quote that lead to this design were 'yellow as golde', 'scrapings', 'sponge' and 'cloth'.  When hearing those words, I imagined the hair scraped tightly back on the head and leading into two buns, with the hair wrapped around a hair rat, like they used to do during the Elizabethan era.  I also imagined pieces of ribbon to be tied around the buns.
To create the desired style, I wrapped hair pieces around small sponges and stuck them on top of the head using sellotape, as the glue wasn't strong enough to make them stay.  I then used some more hair pieces to stick to the forehead, in order to create the effect of scraped back hair, however you cannot see it that well in the picture.  Finally, I tied ribbon pieces around the buns.  If I had had more time, I would have worked at making the buns tighter and cleaner, as well as creating more of a scraped back look on the forehead.

I think that I communicated my vision well to my partner and that my instructions were relevant to the quote and to what I wanted to be created.  I feel that she understood what I was trying to say, as the outcomes of our collages were quite similar.  Areas that I think we could improve in is our creativity and use of materials.  For example, we could have used materials such as string or crepe paper to represent the hair, rather than just using hair pieces.

Monday 14 October 2013

Elizabethan Portraiture - The Ermine Portrait

http://www.gogmsite.net/the_late_farthingale_era_fr/minialbum_queen
_elizabeth_o/1585_ermine_portrait_by_nic.html


The Ermine Portrait was produced in 1585 by Nicholas Hilliard and can be found today at Hatfield House where it is displayed.  Queen Elizabeth I always sat for portraits and had many produced of her during her reign.  She had them produced in order to portray the image of herself that she wanted the public to see and view her as.  Many of her portraits hold small symbols within them, and the Ermine Portrait is no different to any other.

The symbolic references within this portrait include; the Ermine, the Sword of State and the Olive branch.  Each of them having their different references that the queen used to make herself appear more empowering and a better leader for the country:
     - The Ermine -
       The Ermine is an animal that symbolises royalty and in the painting you can see that it is wearing a small crown around his neck.  This is representing majesty and purity, therefore enforcing the idea that she was 'The Virgin Queen'.
     - The Sword of State -
    This symbolises justice, portraying the idea that Queen Elizabeth would have done, and did, anything to do right by her country and that she would bring justice where it needed to be served.
     - The Olive Branch -
       The Olive Branch is a symbol of peace, which I think shows the idea that Elizabeth wanted peace with other surrounding countries.

Her clothing within this portrait also shows off quite a bit about her:
     - The big puffy sleeves, high neck ruff and the way her hair has been styled up, all symbolise her power, authority and wealth.
     - The bigger and puffier clothing also makes her appear bigger and therefore makes her look more intimidating and powerful.
     - The numerous amounts of jewels also represent her wealth and state.
     - The black and white clothing and the background is another way of showing her wealth, as only really wealthy or royal people of the Elizabethan era would wear colours such as black, white, red or purple.  The fact that she is wearing these colours, is a way of reminding people just how wealthy and powerful she is.
     - The Three Brothers Jewel is also displayed in this portrait of the queen.  This jewel was a gem made out of three diamonds, set in a triangle shape around another diamond.  It was one of the queens favourites, and is also another small reminder of her state of wealth.

Finally, the hair and make-up in this image really pulls the portrait together and sums up Queen Elizabeth.  Her hair is worn up and off of the face; making her appear more serious and powerful.  And her make-up is quite plain; again, a plainer face implies someone who is more serious about their role in society.  Also her face and hands are fairly pale, which I know was the desired look during the Elizabethan era.  This was because how pale you were implied how wealthy you were.  Also paleness is a sign of purity, which is the look that the queen wanted to achieve, as she wanted to be seen and known as the 'Virgin Queen'.

Thursday 10 October 2013

The Hair Studio - BLOW DRYING


Equipment used:
Wide tooth comb
Sectioning clips
Round bristle brush
Paddle brush (for long hair)
Hairdryer


How to BLOW-DRY HAIR
Once you have washed your model’s hair, bring them back to the station and comb through their hair using a wide tooth comb
Give the hair a quick blast dry before you proceed to blow dry the hair, applying any necessary products before you begin
Put the parting line in whilst the hair is still damp, either where it naturally falls or where your model likes to place it.  Consult with your model
Section the hair into three; two at the sides and one at the back of the head
Take your first section, starting at the base of the neck
NOTE: make sure the sections aren’t too large, as this will make it harder to control the hair
Hold the section of hair that you want to blow dry at the root with the round bristle brush and begin by blow drying the underneath of the root
REMEMBER: adjust the heat settings according to the hair type, but always have the hairdryer on full power
Once the root is dry begin to blow dry the hair from above, turning the brush under slightly and moving the hair dryer along the mid-length and  ends of the hair in the direction that you want it to sit
When taking the next section, do not brush down onto the just blow-dried section of hair – take it as a new piece and repeat what you did for the previous section
Repeat the above technique for the rest of the hair sections until the whole head is fully blow dried
NOTE: if your model has long hair, use the round bristle brush for the roots and then the paddle brush for the mid-length and ends, as this has a wide base and gives a nice straight finish

Wednesday 9 October 2013

Elizabethan Hair Quote - My Understanding


"To make the hair yellow as golde. Take the rine or scrapings of Rubarbe, and stiepe it in white wine, or in cleere lie; and after you have washed your head with it, you shall weatte your hairs with a Spoonge or some other cloth, and let them drie by the fire, or in the sunne; after this weatte them and drie them againe."

-  Giovanni Ruscelli, The secretes of reverende maister Alexis of Piemount, 1568


The quote above is a quote about Elizabethan people and the lengths that they would go to in order to achieve the hair colour that they desired.  Today it is really easy for us to change the colour and style of our hair without it taking absolutely ages or causing too much damage to our hair.  I found this quote really interesting because it shows just how much hair care has changed over the centuries, all thanks to recent research and developments.  Below are a few contemporary images that I thought related to the quote quite well.

When reading the quote, I imagine long, flowing, golden or auburn coloured hair.  This is because the quote mentions words and phrases such as 'yellow as golde', 'fire' and 'sunne' which are all words that represent warm colours such as yellows and oranges.  Below are a few images that I have collected to represent what the quote makes me think of.


Sources:
http://www.elizabethancostume.net/makeup.html
http://www.dreamstime.com/royalty-free-stock-photography-golden-hair-image12835647
http://www.glamcheck.com/fashion/2012/08/07/bella-thorne-ethereal-in-golden-wavy-hair/
https://thepragmaticcostumer.wordpress.com/tag/elizabethan-hairstyle/